

Jump to:
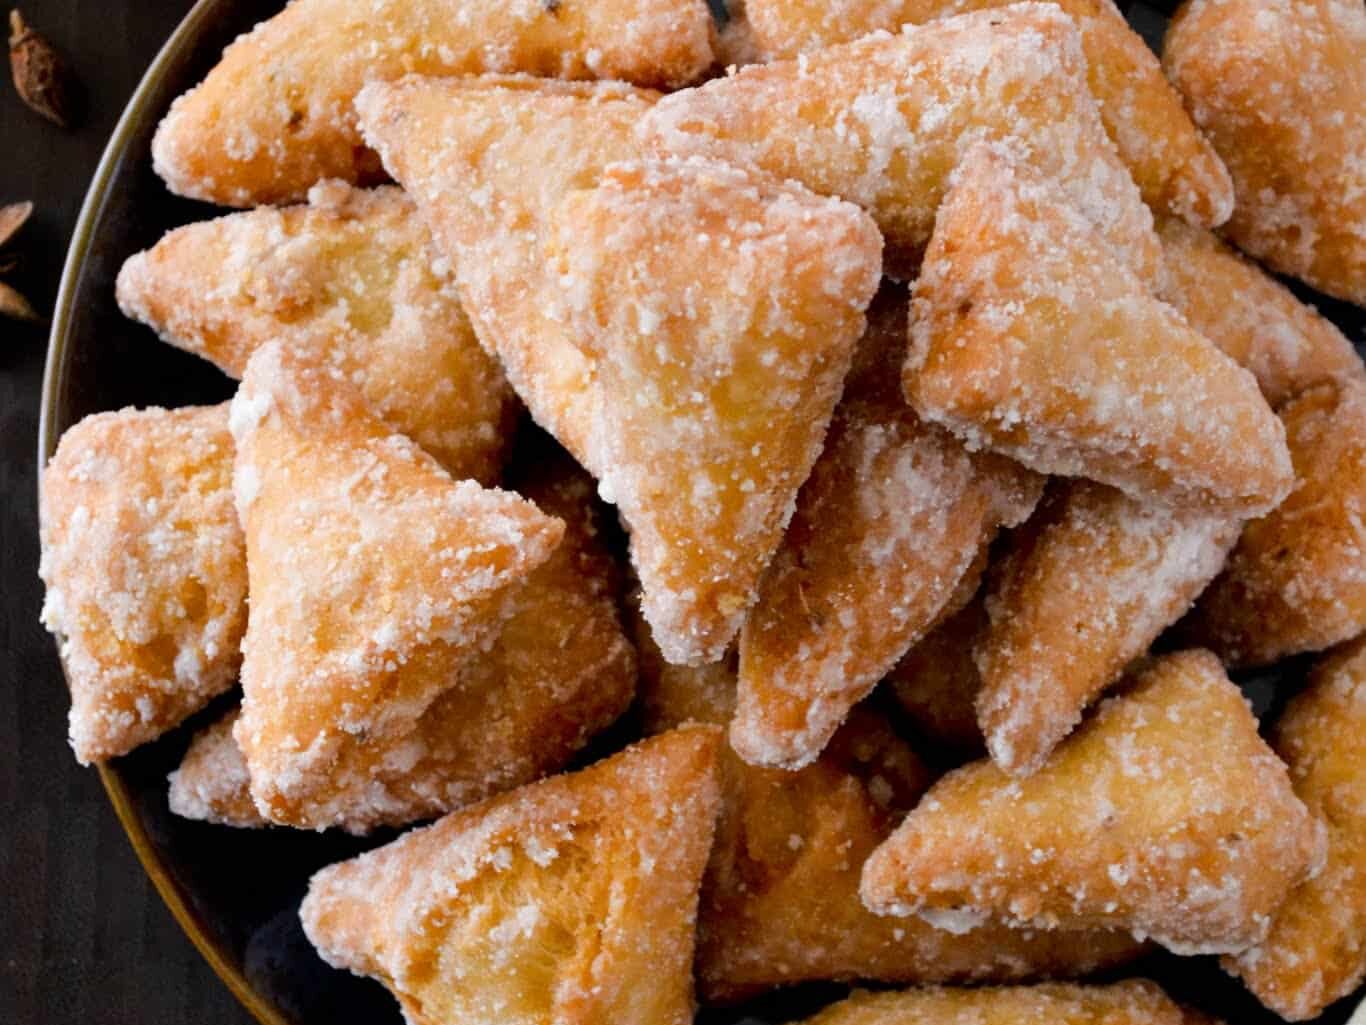
This Small Batch Guyanese Mithai is a scaled-down version of my grandmother's recipe, making about 30–32 pieces, just enough for a small household without having to make an enormous batch. I grew up in a Hindu, Indo-Guyanese family and this was a sweet treat we made during Diwali, Phagwah, weddings, jhandis, or family celebrations. Because it was made during festive times, it was always done in a big batch for sharing with friends and family.
If you've never made mithai before, this is a great recipe to start with. The smaller quantity makes the process much more manageable, especially when it comes to getting the sugar coating just right.
What is Guyanese Mithai?
Guyanese mithai is a traditional Indo-Guyanese sweet made from a lightly spiced dough that's rolled out, cut into diamond shapes or rolled in a thick log shape, and fried until golden. The fried pieces are then tossed in a hot sugar syrup until the sugar crystallizes and forms a sweet coating.
There are two popular styles of Guyanese mithai: the thin, crunchy version and the thicker, softer version. This recipe is for soft mithai, which has a firm, slightly crisp exterior and a dense, chewy center.
Despite its name, soft mithai isn't actually soft all the way through. It still has a nice bite to it, which is part of what makes it so satisfying to eat.
The Indian Roots of Guyanese Mithai
In India, the word mithai is a general term used to describe a wide variety of sweets. But in Indo-Guyanese cuisine, we've come to associate the name with this one particular sweet.
This difference is an interesting reflection of our history. During British colonial rule, Indian indentured laborers brought their food traditions, religious practices, and culinary knowledge to Guyana. Over generations, some traditions were preserved, while others evolved or were lost as communities adapted to life in the Caribbean. This is why we find variations in pronounciations or nomenclature of our dishes compared to South Asian cuisine.
Guyanese mithai closely resembles South Asian sweets such as shankarpali or shankarpale, diamond-shaped fried dough snacks commonly enjoyed during festivals like Diwali and Holi.
The Guyanese version, particularly soft mithai, is generally thicker and denser, with a chewy interior and a crystallized sugar coating. Many Guyanese recipes also include baking powder, reflecting the influence of British baking ingredients on our cuisine.
I find it fascinating how a sweet can carry so much history and still feel so familiar generations later.
How to Get the Sugar Coating Just Right
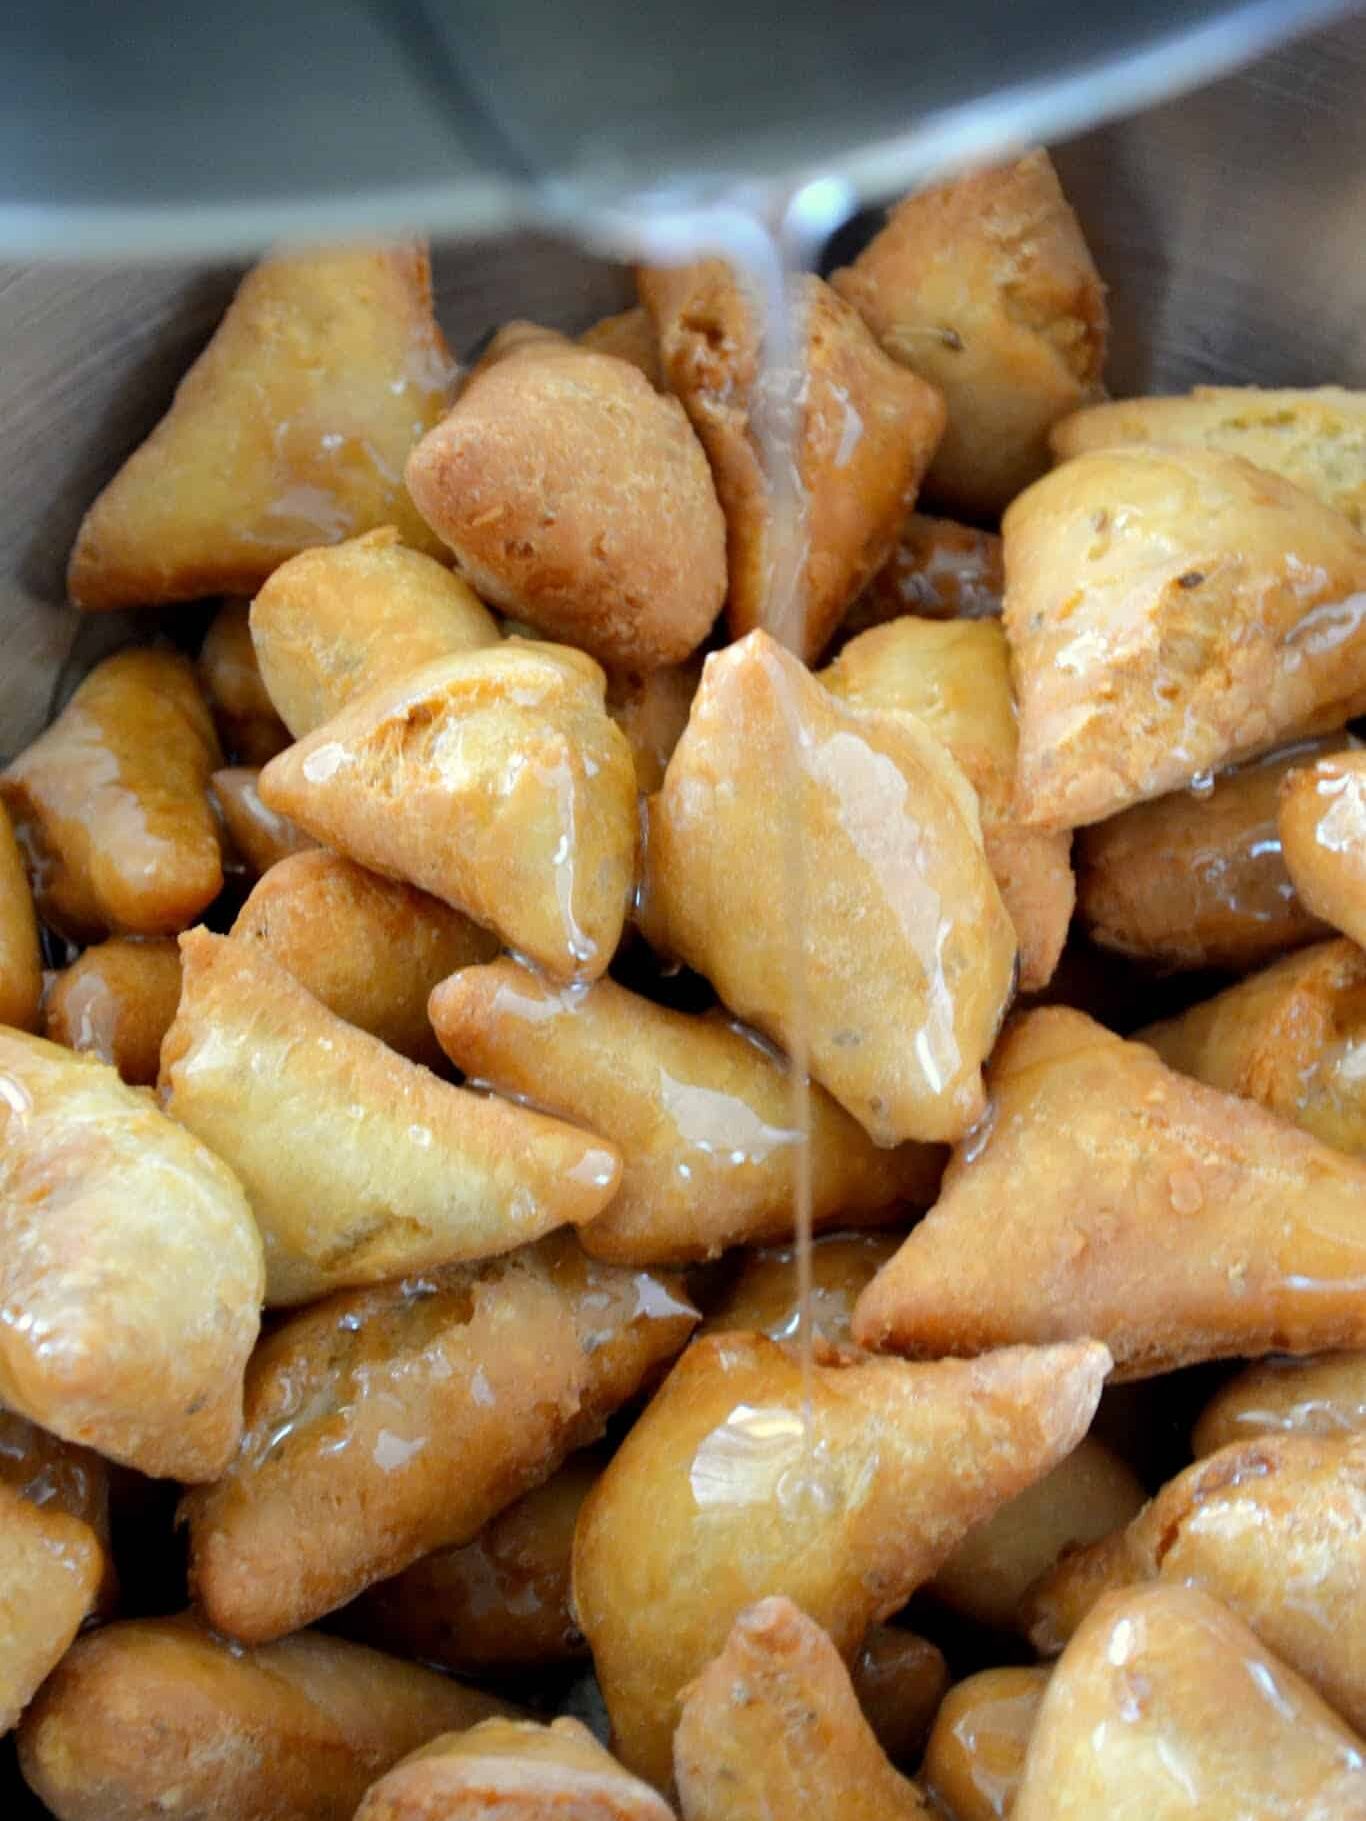
If there's one part of making mithai that frustrates people the most, it's the sugar syrup! You can make a beautiful dough, fry every piece perfectly, and still end up disappointed if the sugar syrup isn't cooked correctly.
If the syrup isn't cooked long enough: It remains too watery and won't crystallize properly. Instead, you may end up with sticky mithai and a wet sugar coating.
If the syrup is cooked too long: It can become overly concentrated and begin crystallizing before you've had a chance to coat all the pieces. The sugar may seize up in the pan, creating clumps and an uneven coating.
This is something I have messed up time and time again until finally learning the visual cues when boiling the sugar as well as using a candy thermometer to ensure it turns out well. Our parents might frown on this, but I feel if you have a tool to help you, then use it.
People who have been making mithai for years can often tell when the syrup is ready just by looking at the bubbles and noticing how it thickens as the water evaporates when it's boiling. Watching how the syrup falls from a spoon into a glass of water to test the stage of the sugar is another common way to test its readiness.
I recommend using a candy thermometer to help monitor the temperature, especially if you're making mithai for the first time. Pairing the temperature with visual cues gives you a better understanding of what to look for rather than relying on time alone.
Another important tip is to have your fried mithai ready before making the syrup. Once the sugar reaches the right stage, you need to work quickly. Pour the syrup over the mithai and begin tossing immediately so every piece gets coated before the sugar crystallizes.
If you've ever wanted to try this recipe, but were intimidated by making a big batch, this is the recipe for you.

Small Batch Guyanese Mithai Recipe Card
This small batch Guyanese soft mithai recipe makes 30–32 pieces of chewy, spiced coconut dough coated in crystallized sugar. Perfect for beginners!
Ingredients
For the Mithai Dough
- 2 cups all-purpose flour
- 2 teaspoons granulated sugar
- 1 teaspoon baking powder
- ½–¾ cup finely grated coconut (fresh or frozen, thawed)
- 6 tablespoons salted butter, cold
- 2 teaspoons anise seeds
- ½ teaspoon ground cinnamon (optional)
- ½ teaspoon ground nutmeg (optional)
- 5–6 oz evaporated milk, whole milk, coconut milk, or half-and-half
- Neutral oil, for shallow frying
For the Sugar Syrup (Paag)
- ¾ cup granulated sugar, brown sugar, or cane sugar
- ¾ cup water
- ¼ teaspoon ground cardamom or 3–4 cardamom pods, crushed
- Pinch of ground cinnamon
Instructions
Step 1: Prepare the Dough
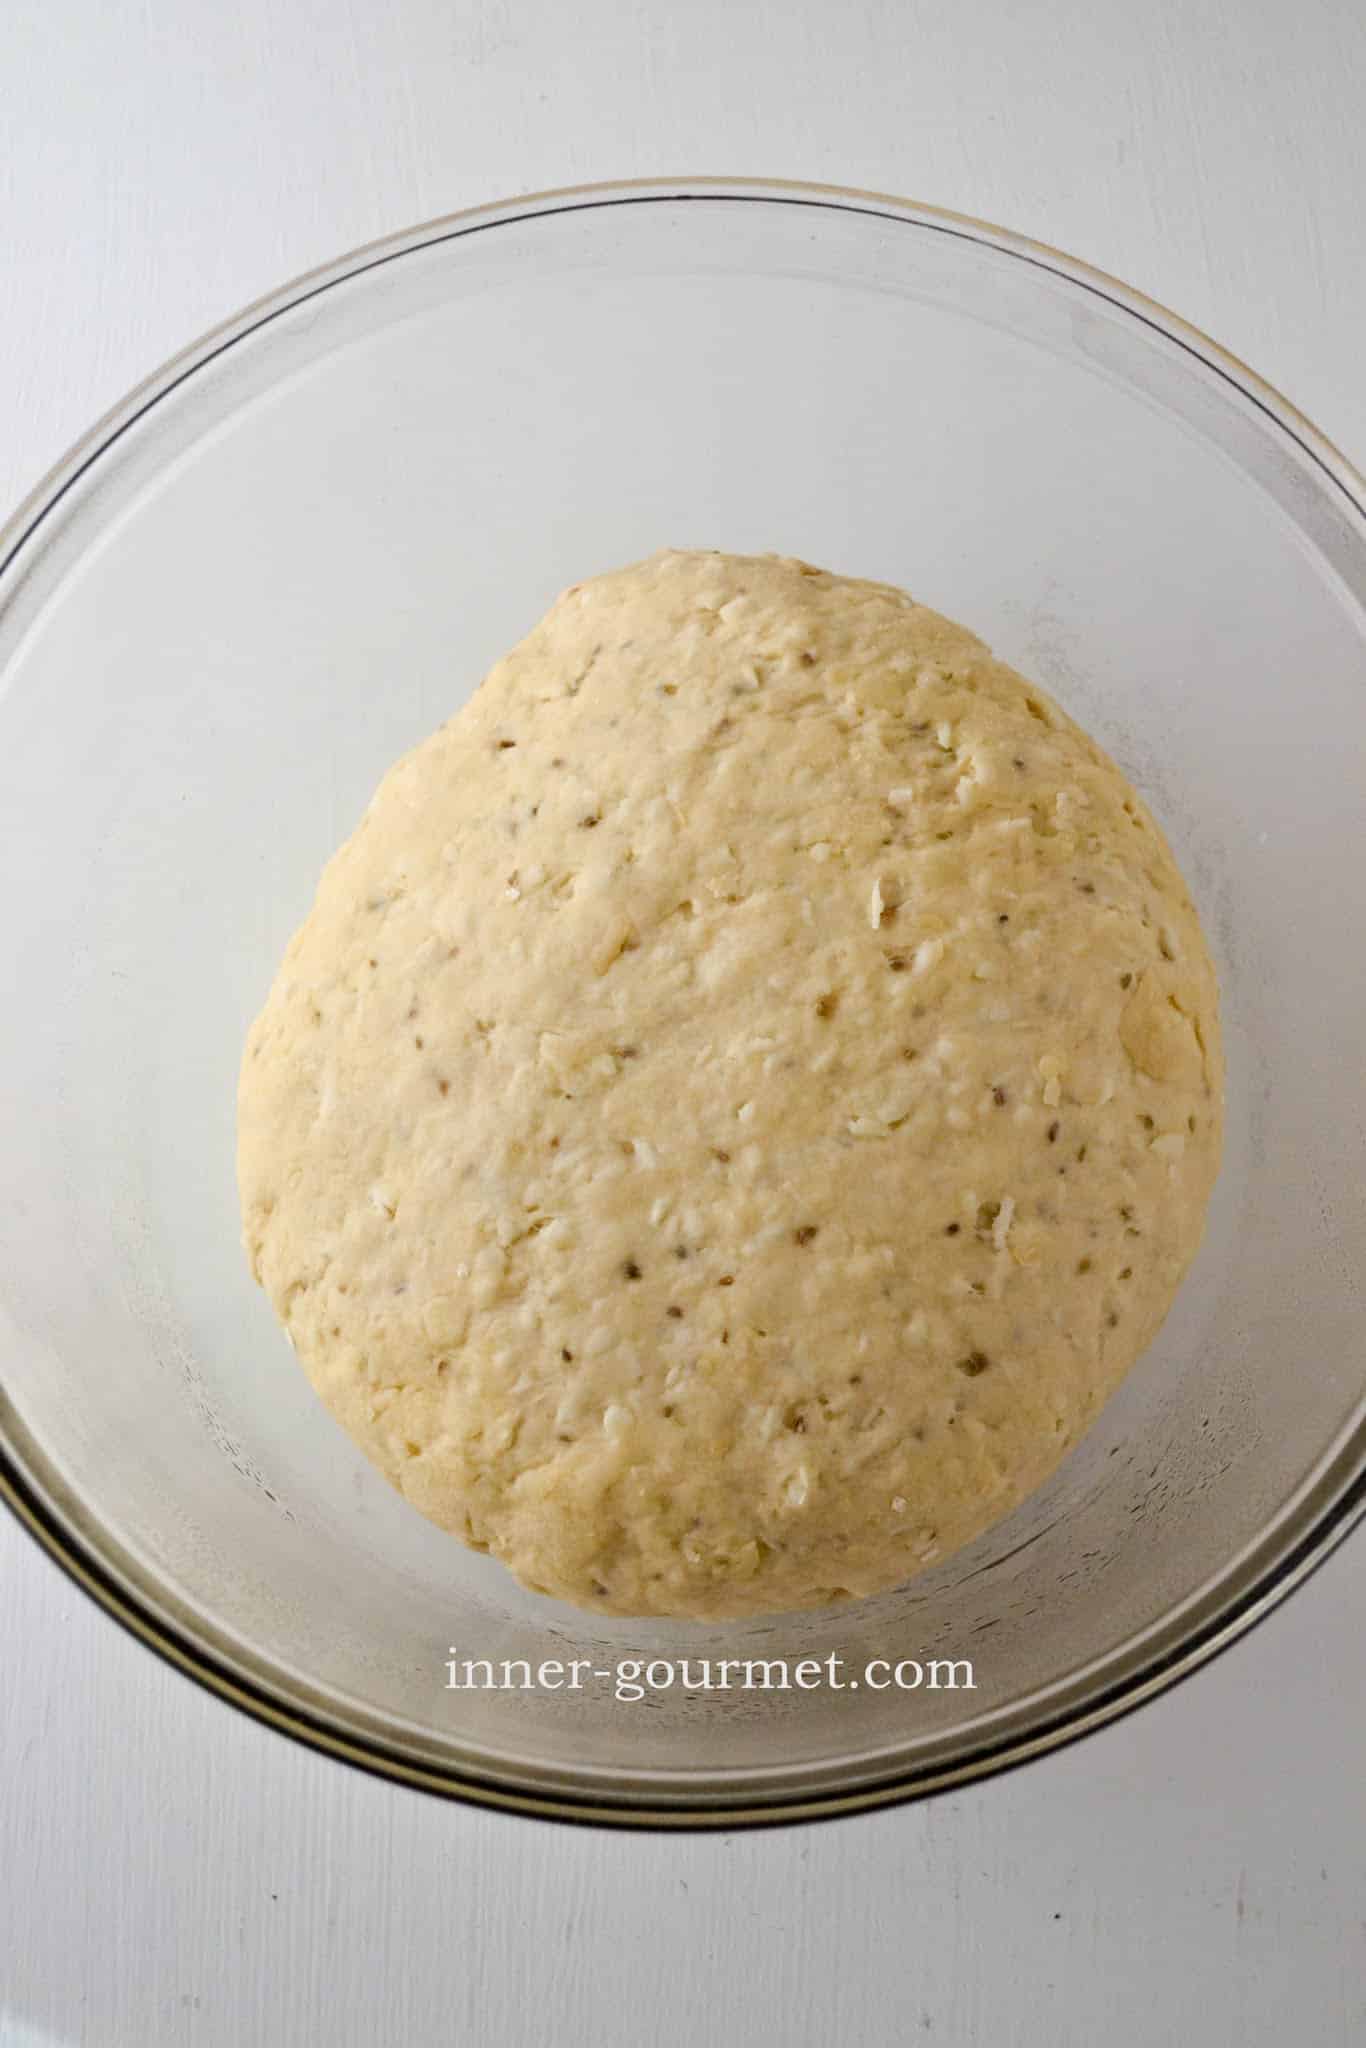
- Add the flour to a large mixing bowl. Cut the cold butter into small cubes and add it to the flour. Using your fingertips, rub the butter into the flour until the mixture resembles coarse crumbs.
- Add the baking powder and mix to combine.
- Stir in the sugar, grated coconut, anise seeds, and optional cinnamon and nutmeg. Mix until everything is evenly distributed.
- Gradually pour in 5 oz of milk, mixing as you go. Gently knead the mixture until it comes together into a soft, pliable dough. Add the remaining milk, a little at a time, only if needed. The dough should be soft but not overly sticky. Avoid over-kneading.
- Cover the dough and allow it to rest for 25–30 minutes. This helps the dough relax and makes it easier to roll out.
Step 2: Roll and cut the Mithai
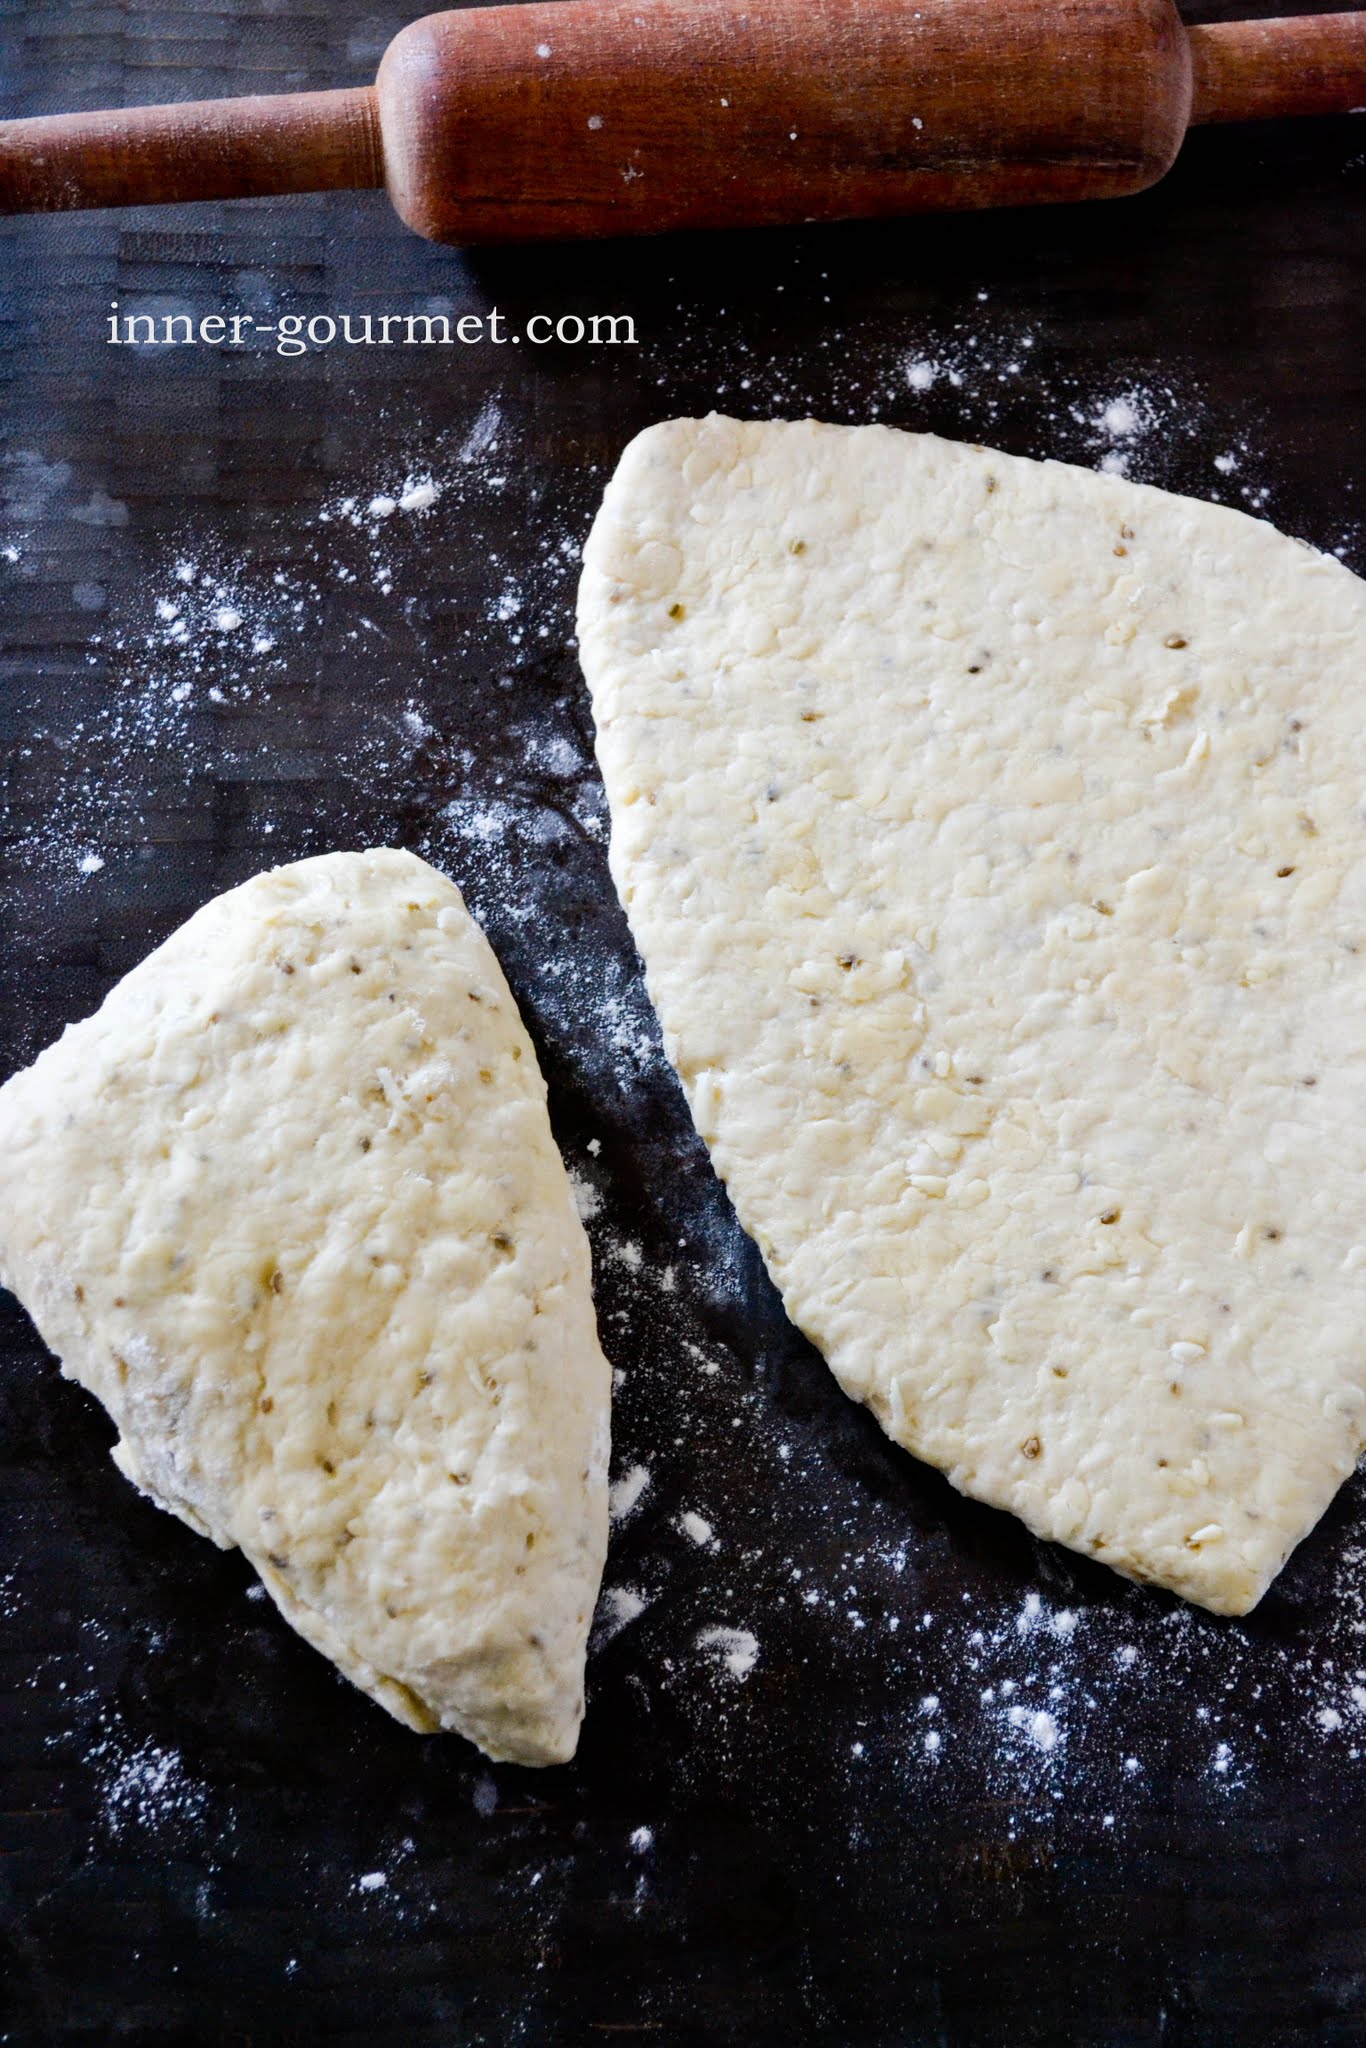
- Lightly flour your work surface and place the rested dough on it.
- Using a rolling pin, roll the dough slightly thicker than ¼ inch. Try to keep the thickness even so the pieces fry at the same rate.
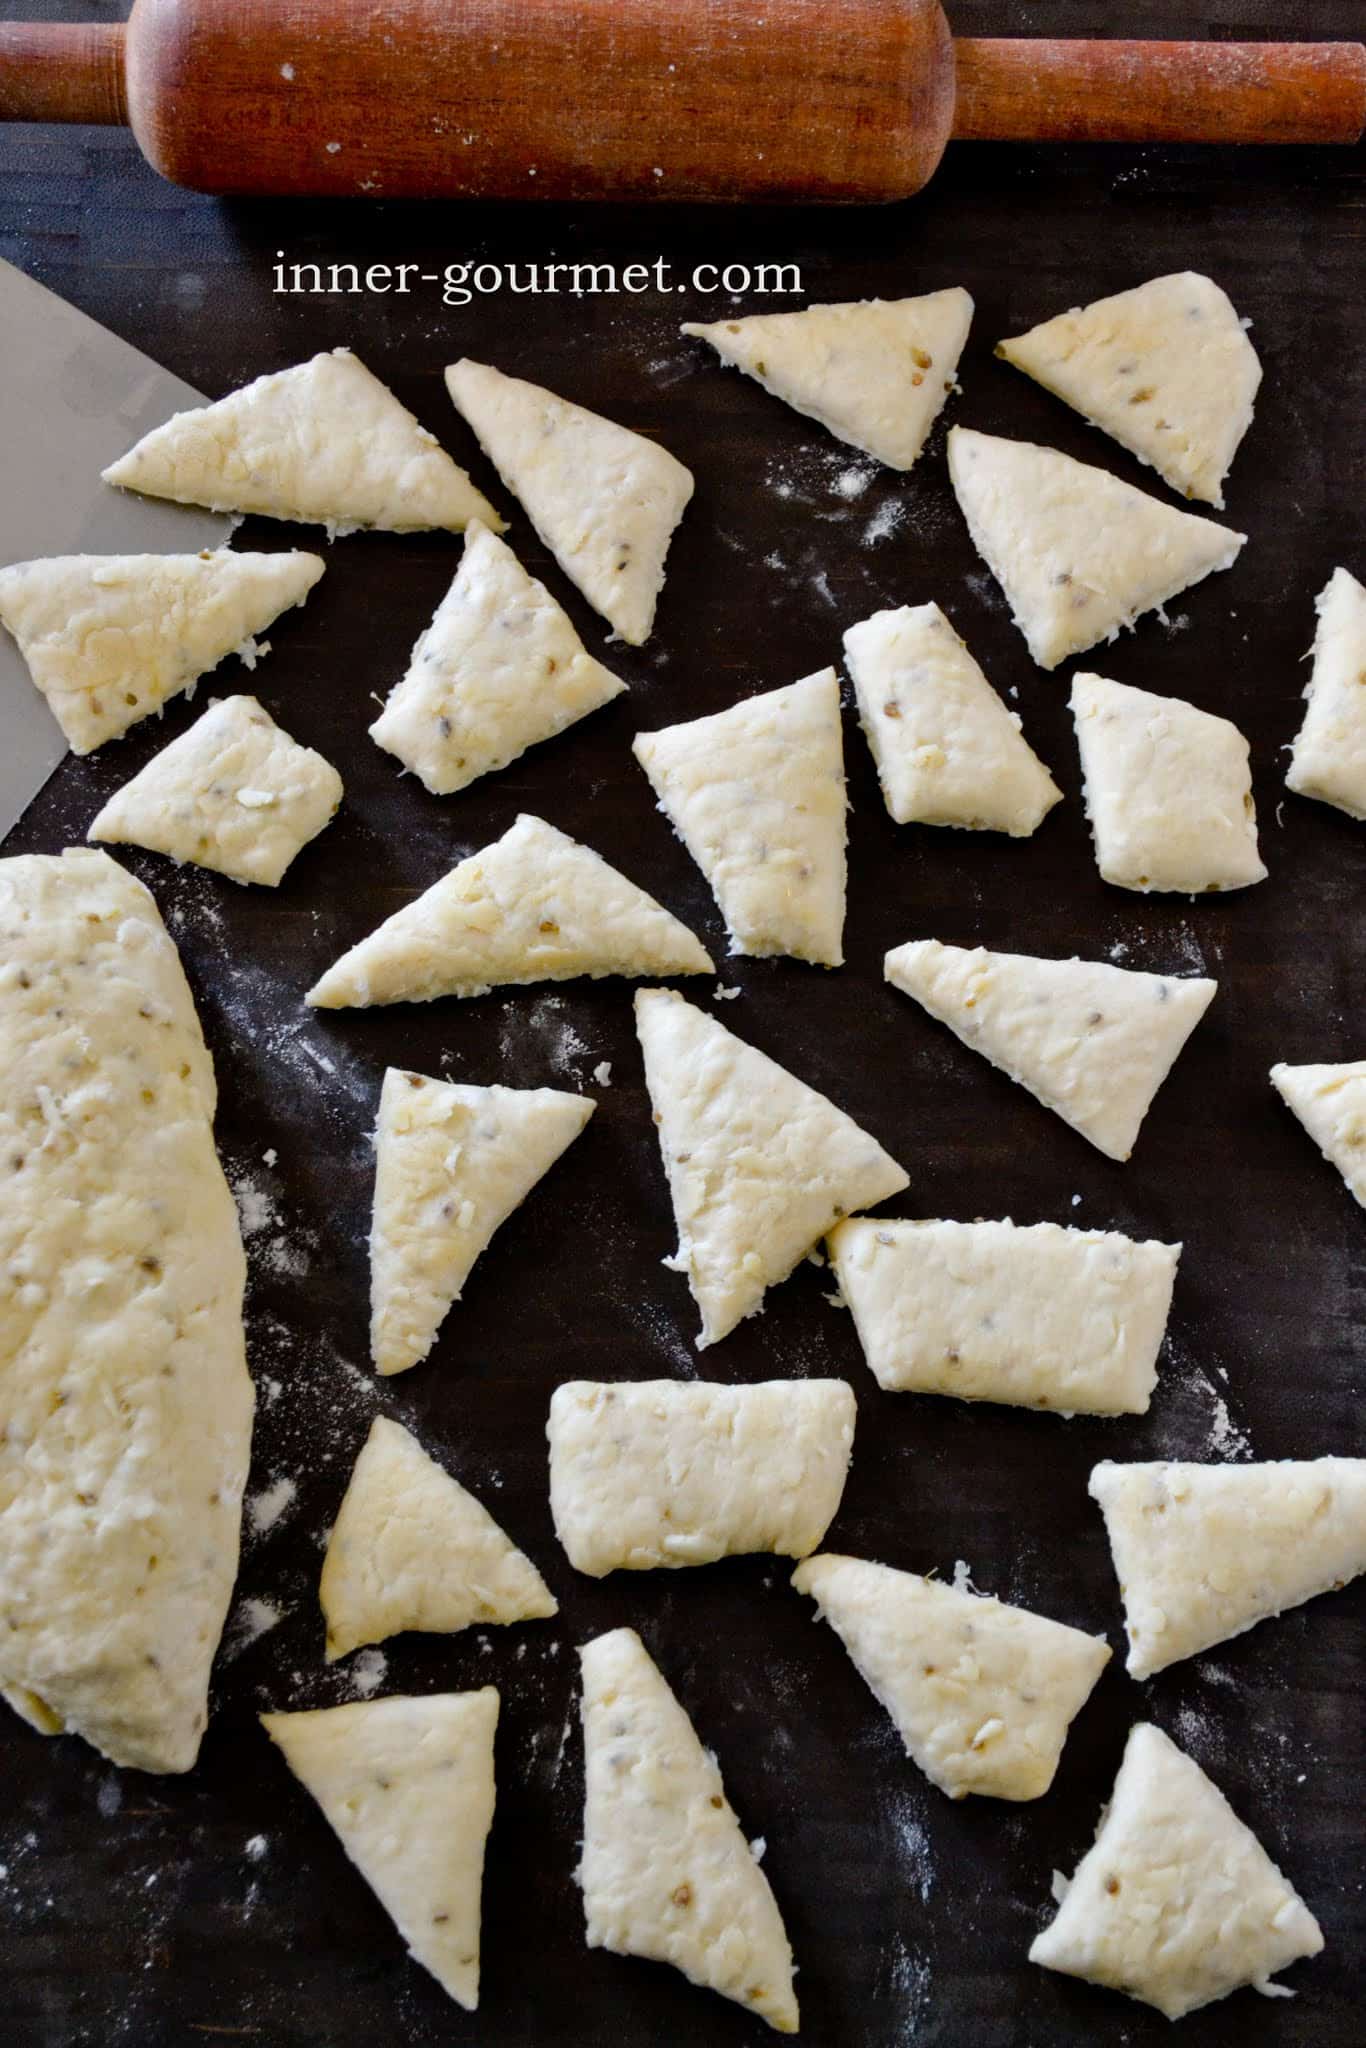
- Using a sharp knife or pizza cutter, cut the dough into evenly spaced diagonal strips. Cut across the strips in the opposite direction to create diamond-shaped pieces.
- Separate the pieces and set them aside while you heat the oil.
Step 3: Fry the Mithai
- Pour enough neutral oil into a deep, heavy-bottomed pot or frying pan to shallow-fry the mithai. Heat the oil over medium heat to approximately 325–350°F (163–177°C).
- Before frying an entire batch, add one piece of mithai to the hot oil. It should bubble steadily and gradually turn golden. If it browns too quickly, lower the heat and allow the oil to cool slightly before testing another piece.
- Break open the test piece to make sure the center is fully cooked. This is especially important for soft mithai because the pieces are thicker than the crunchy version.
- Fry the mithai in batches, turning occasionally, until lightly golden brown on all sides. Avoid overcrowding the pot, which can lower the oil temperature.
- Be careful not to fry the pieces too dark. Over-frying can make the mithai hard and stiff once cooled.
Transfer the fried mithai to a large mixing bowl lined with paper towels to absorb excess oil. - Continue frying until all the dough is used. Allow the mithai to cool completely before adding the sugar syrup.
Step 4: Prepare the sugar syrup (Paag)
- Add the sugar, water, cardamom, and pinch of cinnamon to a small, heavy-bottomed saucepan.
- Place over medium heat and bring the mixture to a boil, stirring initially to help dissolve the sugar.
- Once the sugar has dissolved, allow the syrup to boil without continuous stirring.
- Cook for approximately 15–20 minutes, or until the syrup reaches about 230–235°F (110–113°C) on a candy thermometer. Use the temperature and appearance of the syrup as your guide rather than relying only on cooking time.
- As the syrup cooks, you'll notice the consistency becoming thicker and the bubbles changing from small, rapid bubbles to larger, more pronounced ones.
- When the syrup reaches the desired temperature, immediately remove it from the heat.
Important: The sugar syrup can go from ready to overcooked very quickly. Keep a close eye on it during the final few minutes.
Step 5: Coat the Mithai with the Sugar Syrup
- Before the syrup is ready, remove the paper towels from the bowl of completely cooled mithai. Make sure you're using an extra-large mixing bowl with plenty of room to toss the pieces.
- As soon as the syrup is ready, carefully pour it over the mithai.
- Immediately begin turning the mithai with a large metal spoon (not wooden), continuously tossing to distribute the syrup evenly.
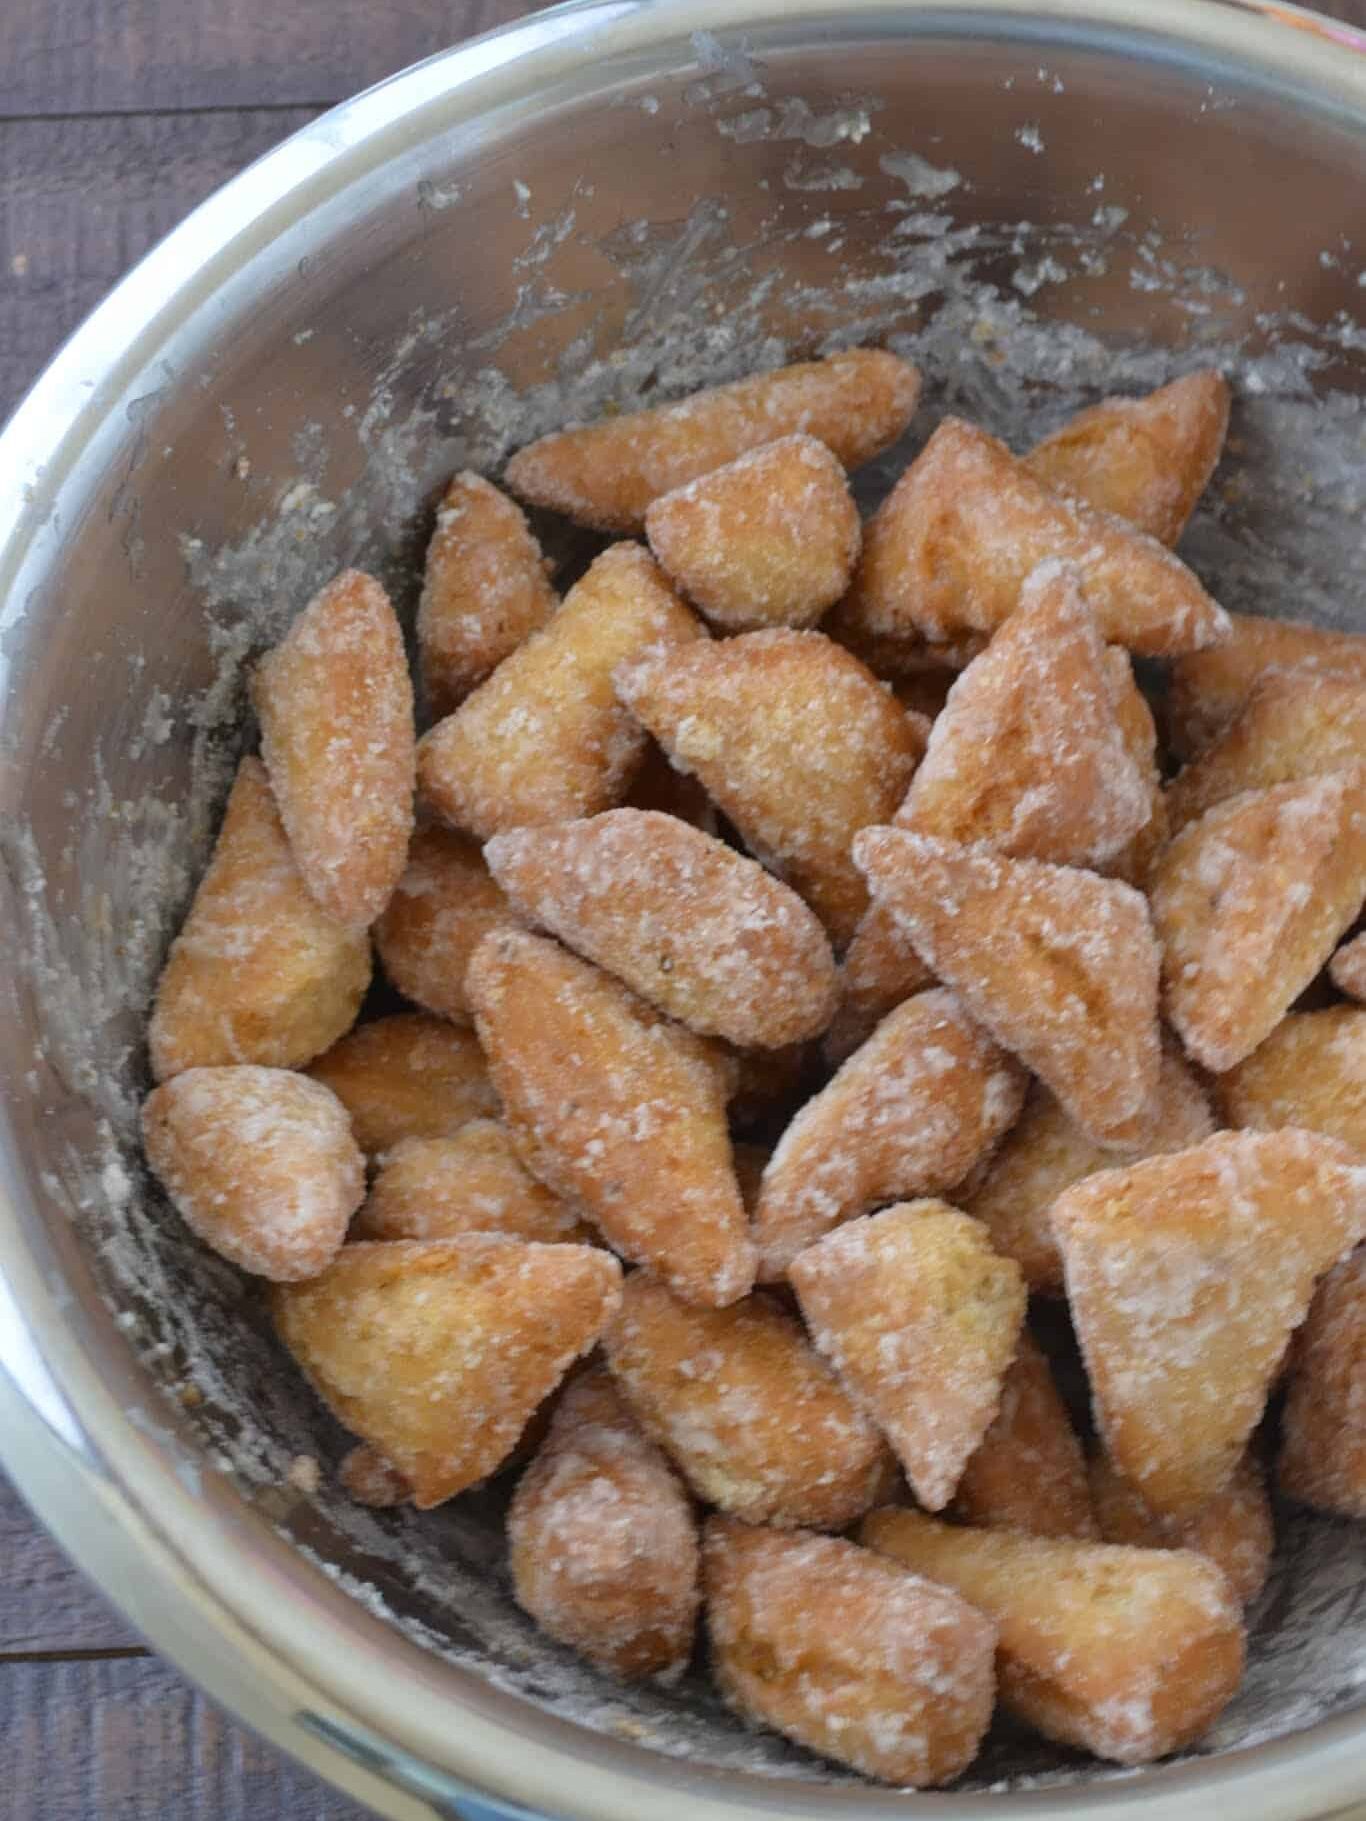
- Continue tossing for several minutes. At first, the mithai will look glossy and wet, but as the syrup cools, it will begin to crystallize and form a sugary coating.
- Once the syrup starts to dry, you can gently shake and toss the bowl to help separate the pieces and distribute the sugar.
- Continue until the coating has crystallized and the pieces are no longer wet or sticky.
- Allow the mithai to cool and the coating to set completely before serving or storing.
Notes
Ingredient Substitutions and Flavor Variations
One of the things I love about Guyanese mithai is how much the flavor varies from household to household. You can customize this recipe with different spices and ingredients while keeping the basic method the same.
Coconut: Fresh or frozen grated coconut works well. If using frozen coconut, thaw it completely before adding it to the dough. You can also use shredded coconut from the baking aisle. Pulse it briefly in a food processor to create a finer texture.
Milk: Evaporated milk provides a slightly richer flavor, but whole milk, half-and-half, or coconut milk can also be used. Add the liquid gradually because the amount needed may vary depending on the moisture in your coconut.
Spices: In addition to anise seed, you can use cinnamon, nutmeg, or cardamom to flavor the dough. Adjust the combination to suit your preference.
Extracts: Add approximately 1 teaspoon of vanilla or almond extract for additional flavor.
Fresh ginger: Add 1 teaspoon of finely grated fresh ginger for a subtle warmth and spicy flavor.
Powdered milk: Add 2 tablespoons of powdered milk to the dry ingredients for a richer, slightly milky flavor.
Custard powder: Add 1 tablespoon of custard powder to the dry ingredients for added flavor and richness.
Sugar: Granulated sugar produces a traditional light-colored coating, while brown sugar or cane sugar will create a darker coating with a slightly deeper flavor.
Make-Ahead Instructions
Refrigerating the dough: Prepare the dough, wrap it tightly in plastic wrap, and refrigerate overnight. Allow it to sit at room temperature until pliable enough to roll before proceeding with the recipe.
Freezing the dough: Wrap the dough tightly and freeze for up to two weeks for best quality. Thaw completely in the refrigerator, then allow it to soften enough to roll before frying.
For the best results: I recommend preparing the dough ahead of time rather than frying the mithai in advance. Freshly fried and cooled mithai develops a better texture when coated with the sugar syrup. Refrigerating the uncoated fried pieces can cause them to lose their crisp exterior.


Leave a Reply