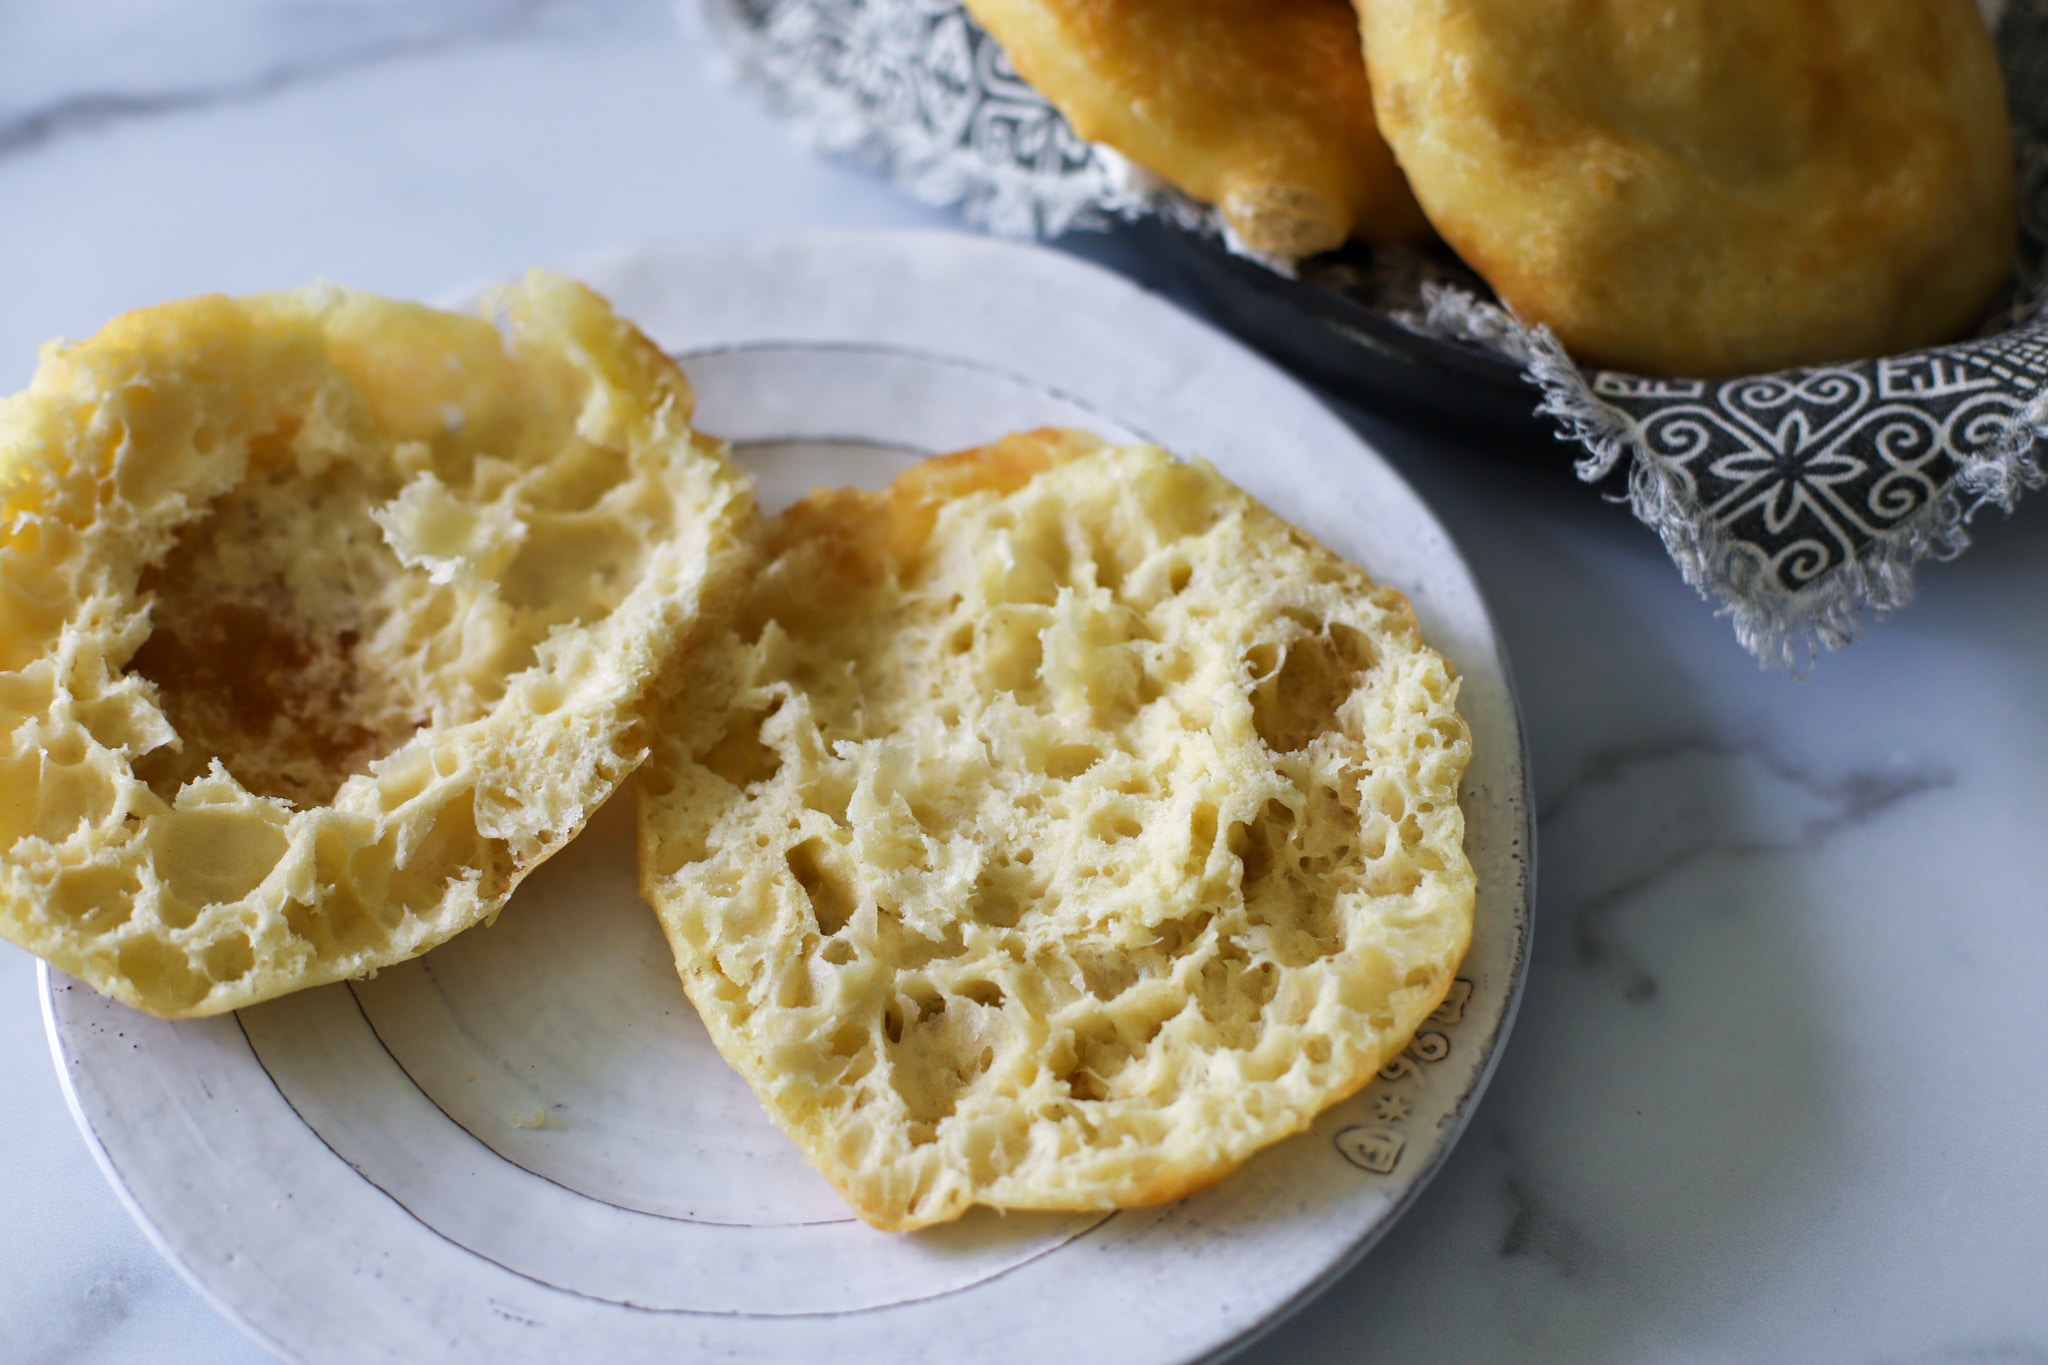
I loved waking up on the weekends to the smell of bakes frying. The minute that bake hit the oil and started to reach golden brown, the aroma filled the upstairs of my home and woke me right up. The simple joy of biting into a warm, freshly fried bake that's crisp on the outside and pillowy on the inside is one of my favorite childhood memories. My mom always made a big batch of bake, but if you're a smaller household, making a lot can feel overwhelming. This small batch version is perfect when you want just enough, with no leftovers and no waste. It makes exactly four bakes, each about 5–6 inches wide, ideal for a small family breakfast or a cozy weekend treat.
In my Guyanese family we refered to this fried bread as bakes and my favorite filling is corned mutton with potatoes, you can try my recipe here.

West Indian fry bake, often just called “bakes” in places like Guyana and Trinidad, goes by many names across the region. In Jamaica, a close cousin is known as “festival,” though it’s typically sweeter and shaped differently. In the Bahamas, you might hear “Johnny cake,” while in Barbados and some Eastern Caribbean islands, they are often called “bakes” or “floats.” In places like St. Vincent and Antigua, you will also hear “fried jacks” or “fry jacks.”
Fry bake has deep roots in Afro-Caribbean food culture, shaped by generations of resourceful cooking using simple pantry staples like flour, water, and fat. Over time, it became a beloved breakfast often served alongside saltfish, corned beef, or sautéed vegetables. And if you’re in my house? My kids will happily grab one and slather it with peanut butter or nutella.
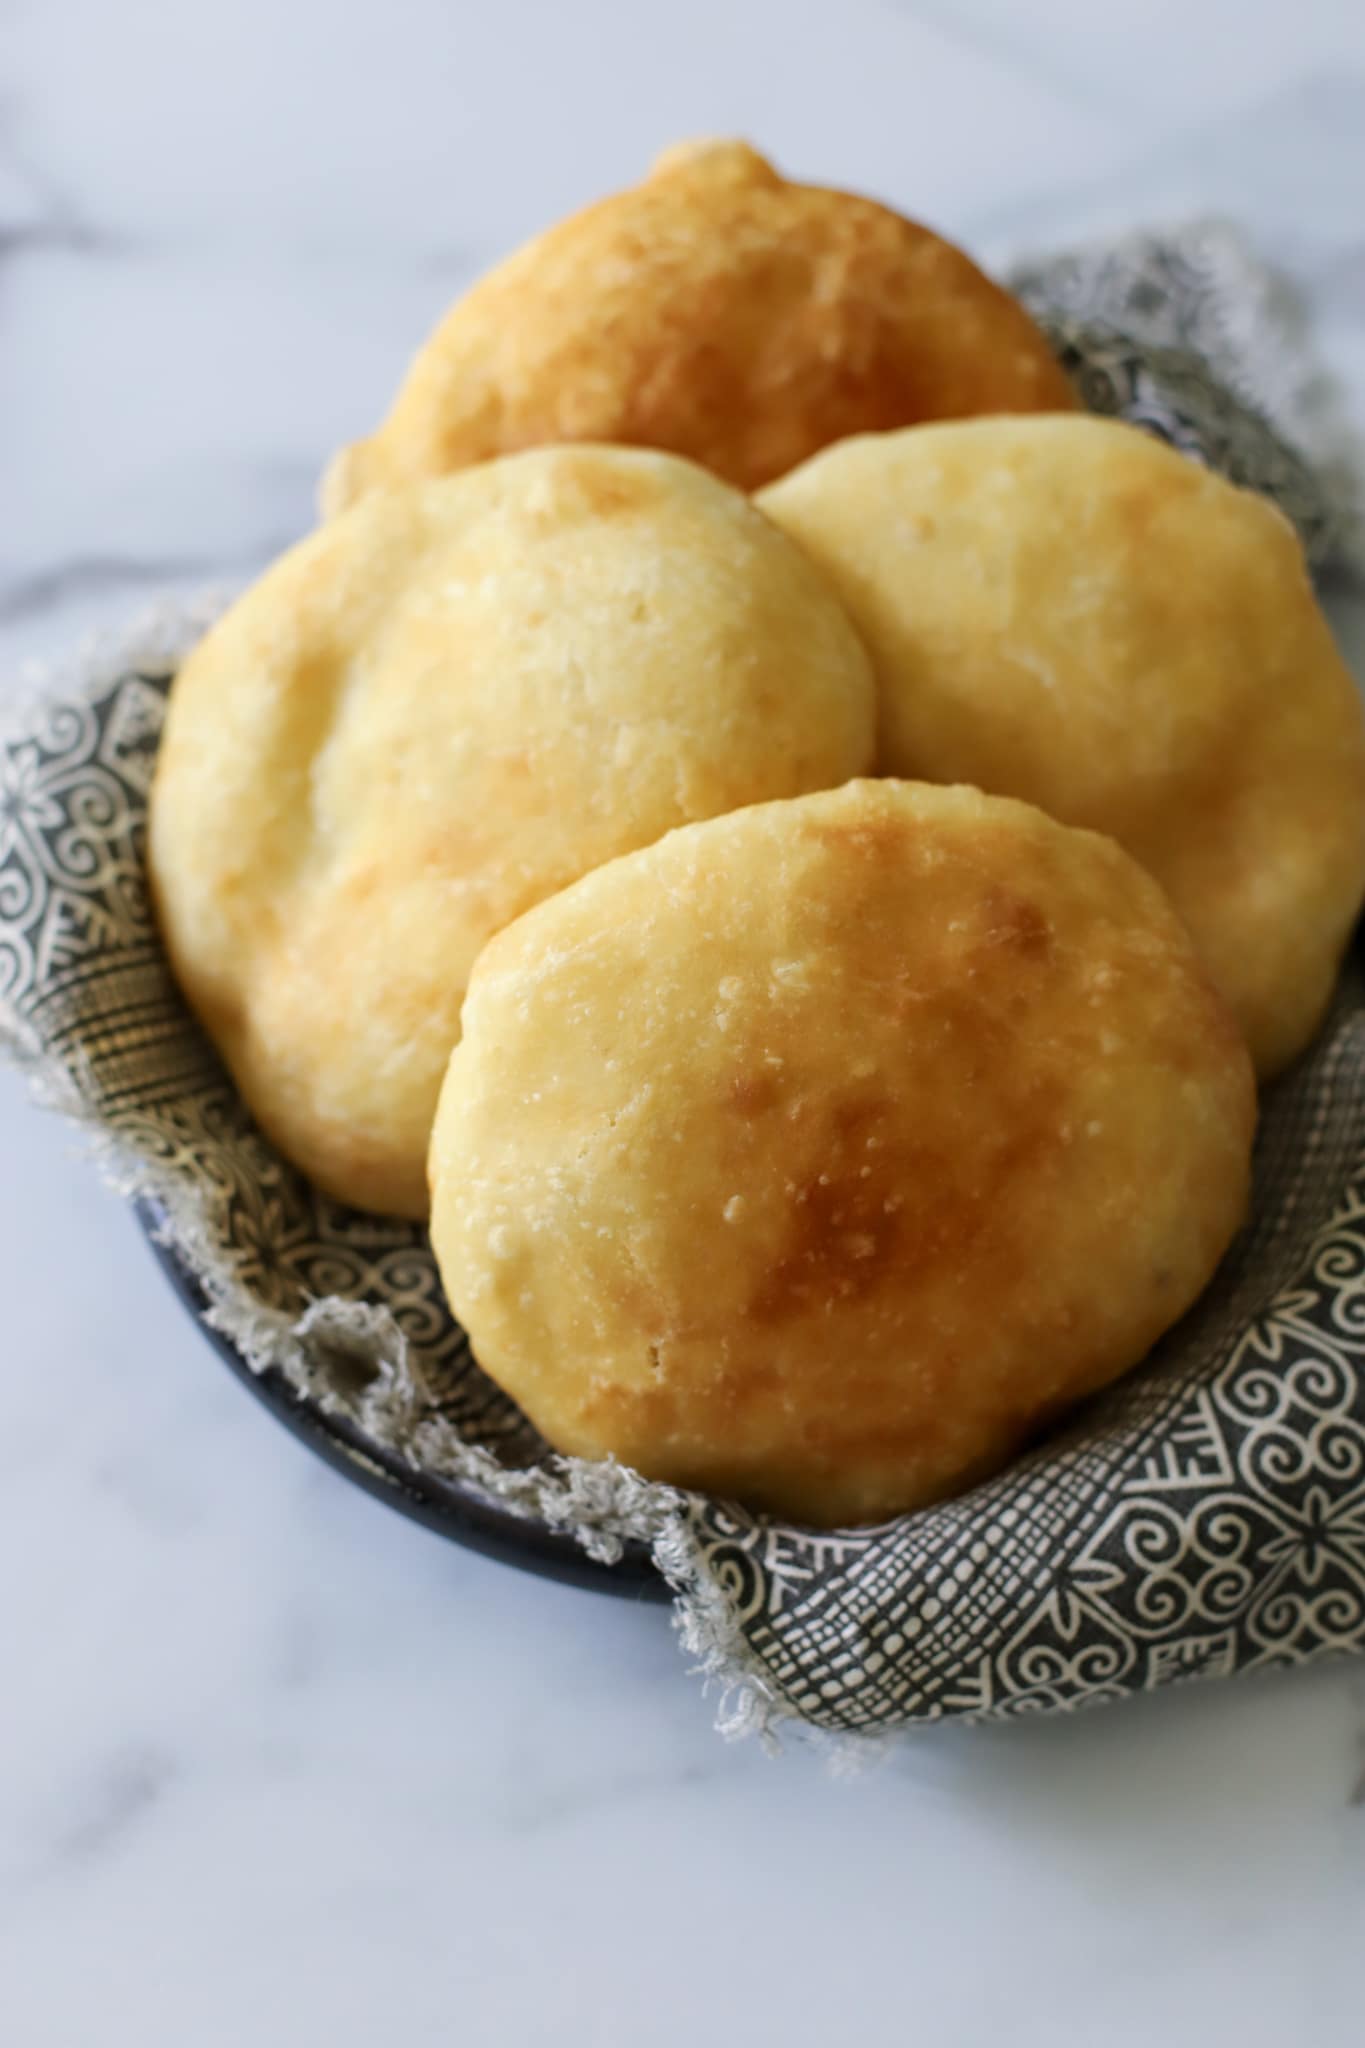

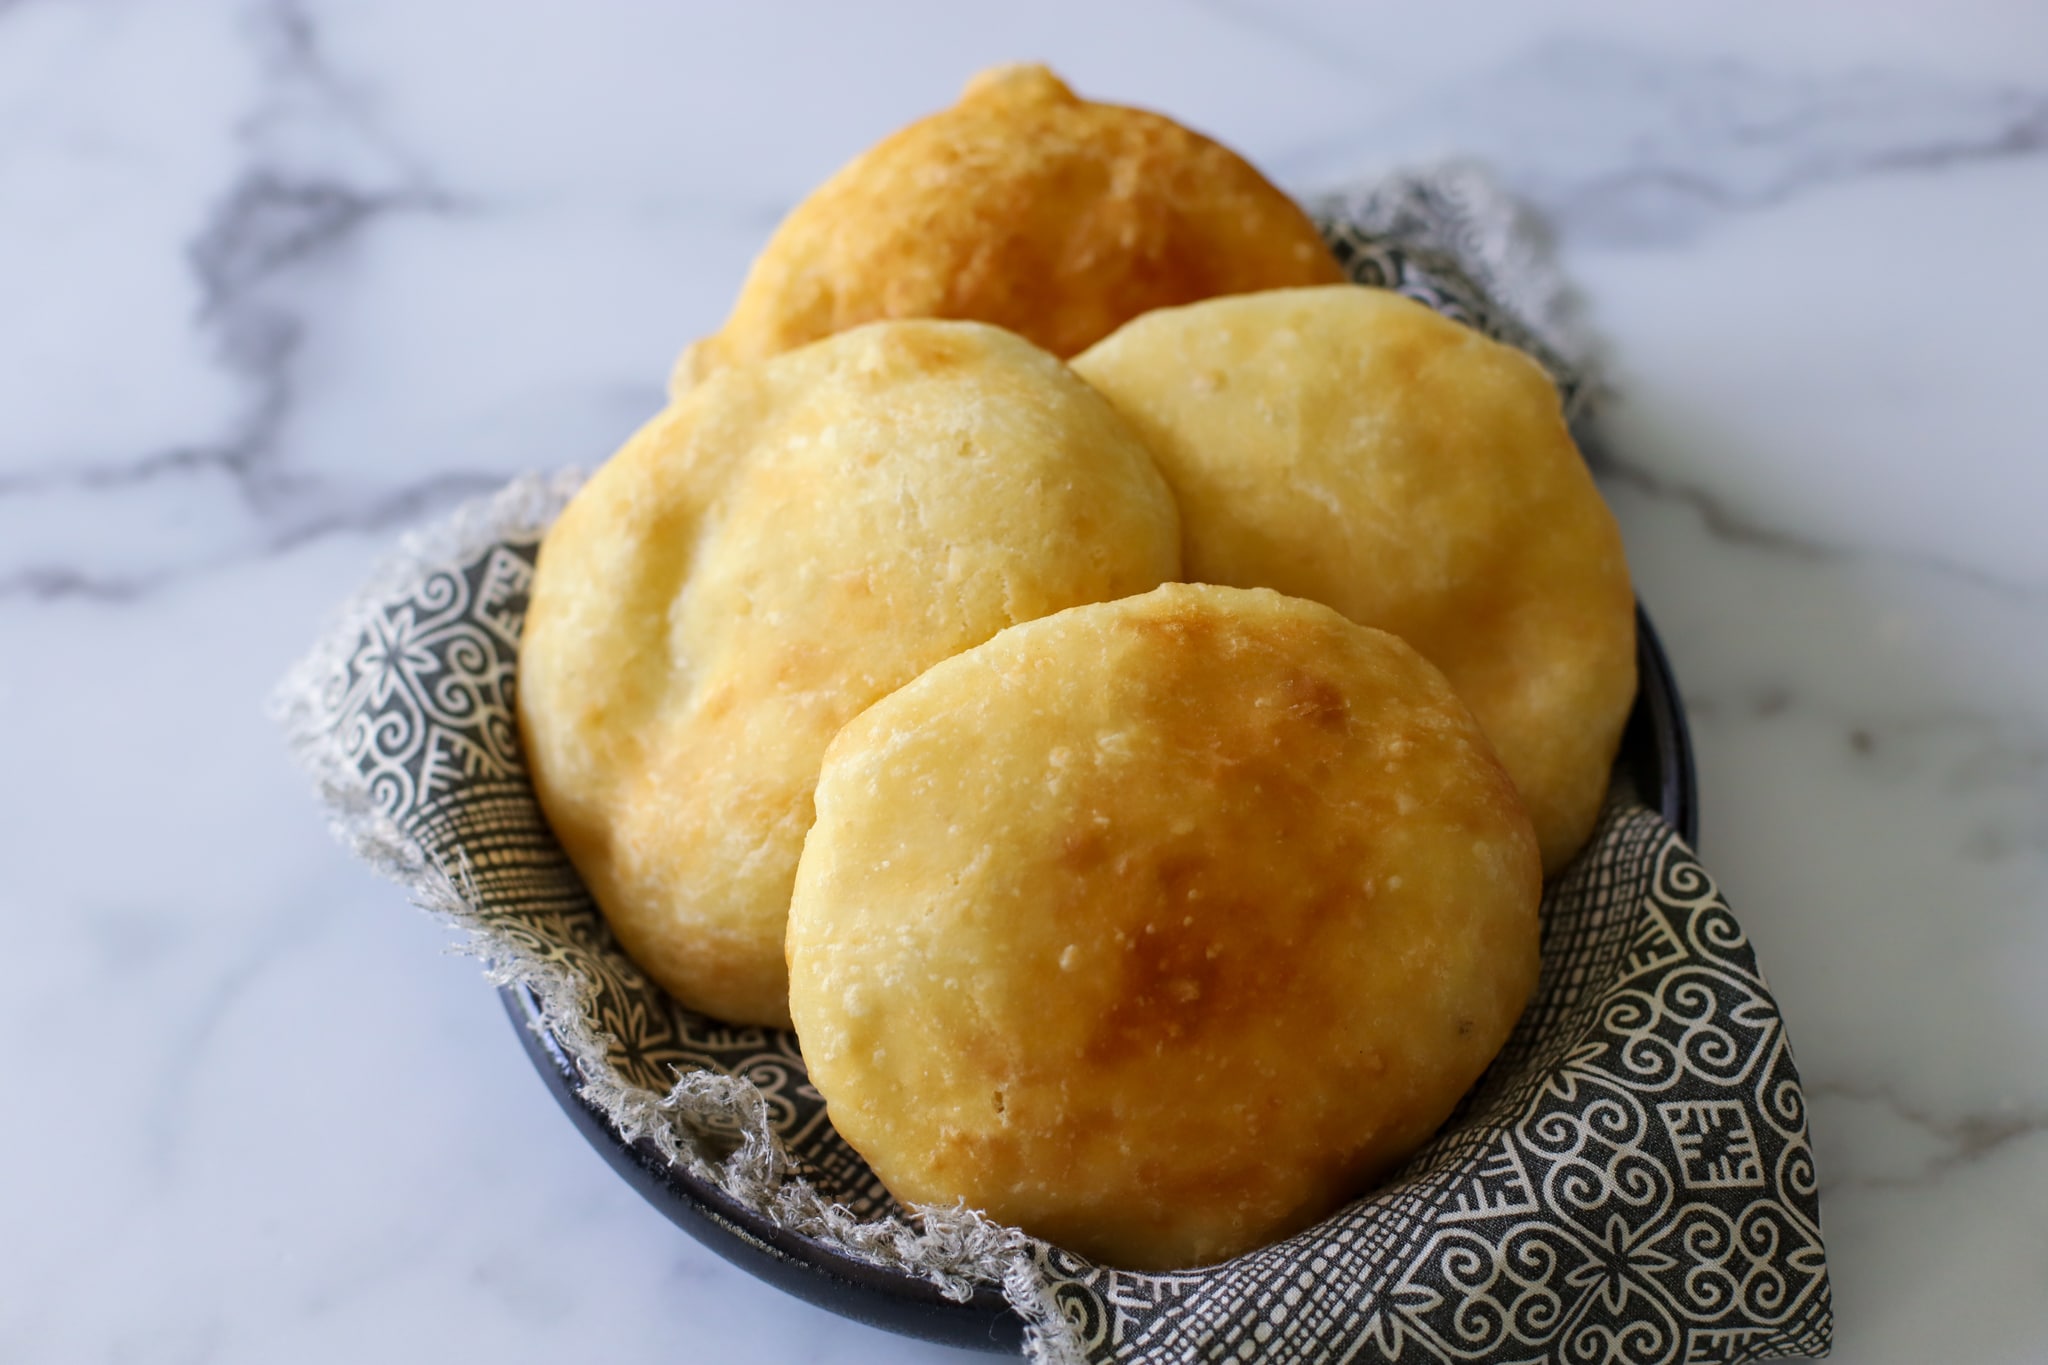
Small Batch Fry Bake
This small batch West Indian fry bake recipe yields four soft, golden, perfectly puffed bakes. Serve with your favorite meat or vegetable fillings.
Ingredients
- 1 ½ cups all-purpose flour
- 2 tablespoons white sugar
- 1 ½ teaspoons baking powder
- ¼ teaspoon salt
- 2 tablespoons unsalted butter, softened
- 4–5 oz warm water
- Optional: ¼ teaspoon yeast (not traditional, but adds a slight lift and softness)
- Oil for frying (enough for shallow or deep frying)
Instructions
1. Mix the dry ingredients -In a medium bowl, whisk together the flour, sugar, baking powder, and salt. If using yeast, add it here as well.
2. Add the butter- rub the softened butter into the flour mixture using your fingertips until it resembles coarse crumbs.
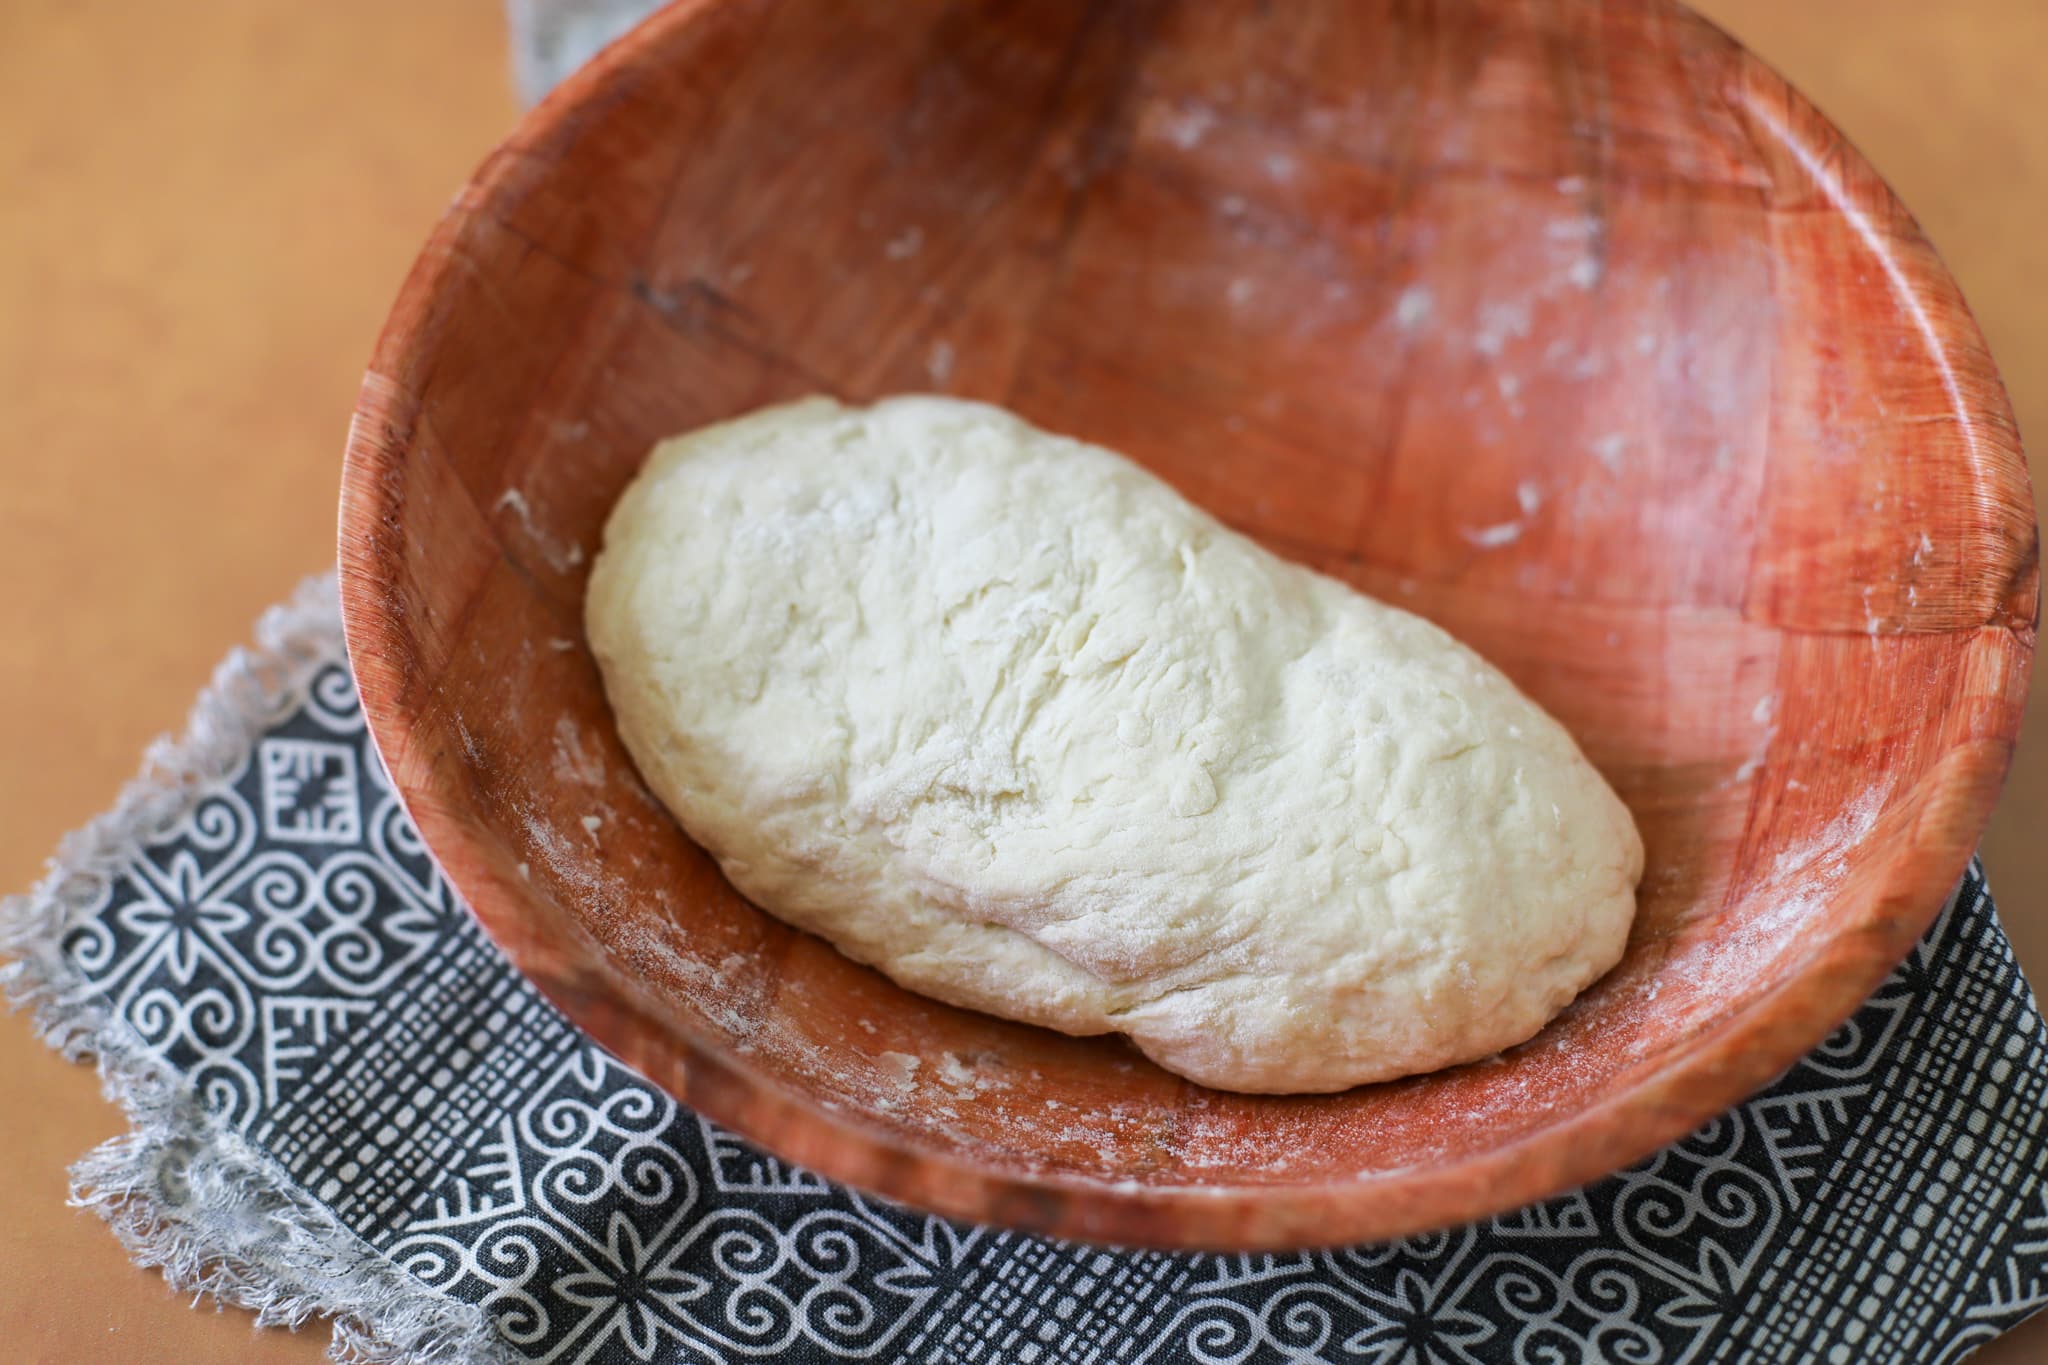
3. Form the dough- Gradually add warm water, mixing until a soft dough forms. You may not need all the water or you may need a bit more, add just enough for the dough to come together without being too wet and sticky.
4. Knead the dough- Gently knead it into a rough dough ball. The dough should feel soft and slightly springy, but not stiff.
5. Rest the dough- Cover and let the dough rest for at least 20–30 minutes. This helps relax the gluten, making it easier to shape and resulting in a softer bake.
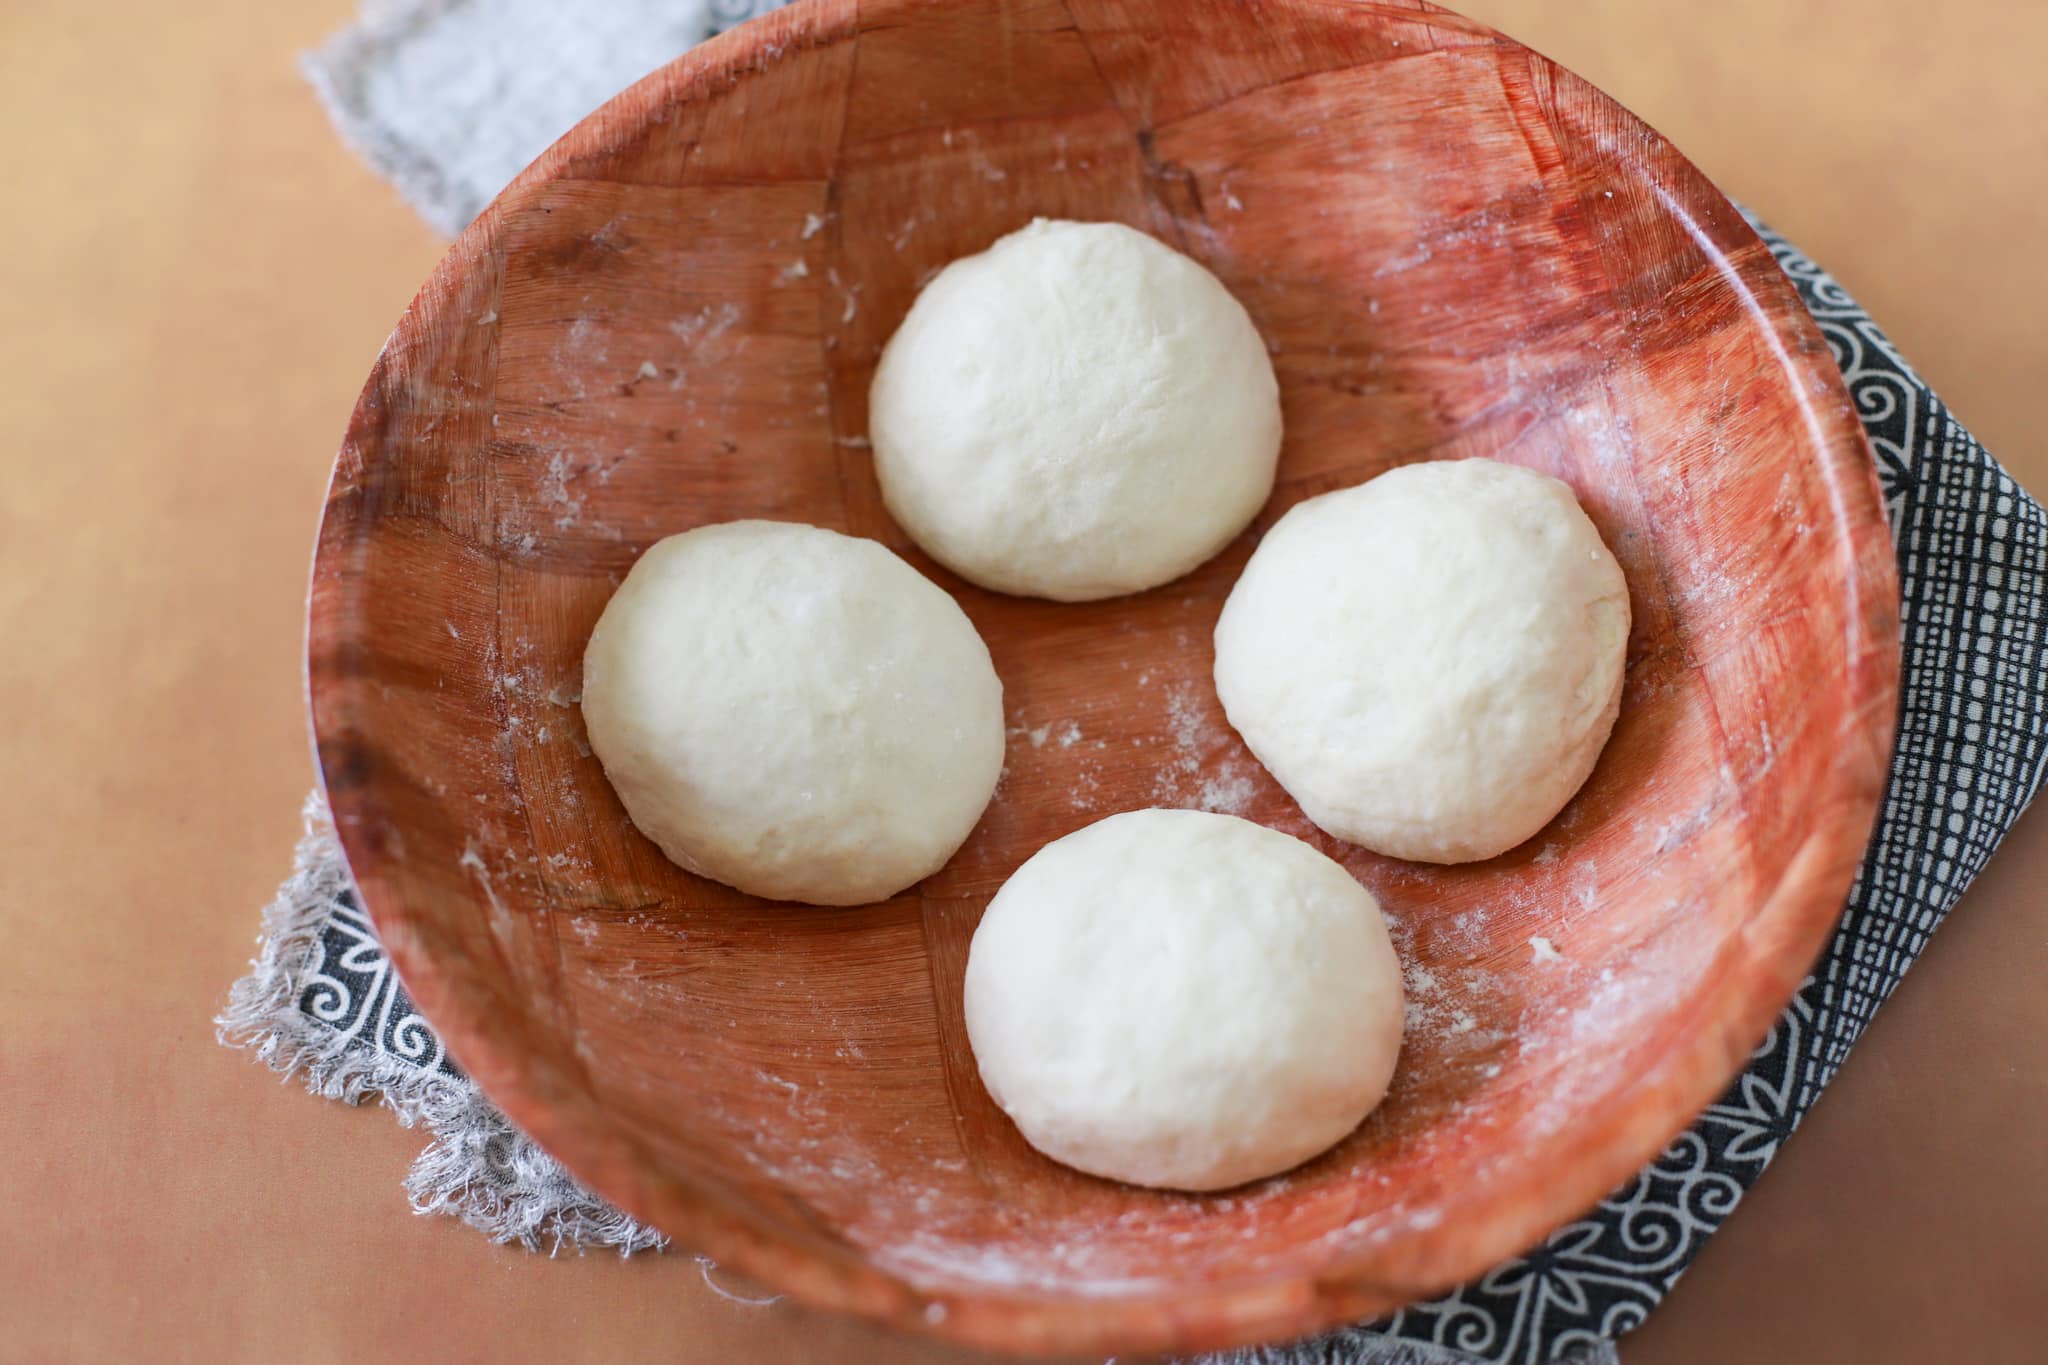
6. Divide and shape- Divide the dough into 4 equal pieces. Roll each piece into a ball, then flatten into discs about 5–6 inches wide. You can use your hands, but a rolling pin is best for even shape.
7. Heat the oil- Heat oil over medium-high heat. The oil should be right around 350 degrees F. You can also test it by dropping in a small piece of dough; it should sizzle immediately and slowly float to the top.
8. Fry the bakes- Carefully place one bake into the hot oil. As it fries, gently spoon oil over the top to encourage it to puff. Fry until golden brown on one side, then flip and cook the other side. Remove and drain on paper towels.
Repeat with remaining dough.
Notes
- Don’t over-knead: Dough should be soft and slightly springy, add water gradually as needed
- Rest: Let the dough rest for at least 20-30 minutes for easier shaping and better puff
- Temperature: Oil should be around 350°F to achieve a nice golden brown
- Spoon hot oil on top: This helps the bake puff up beautifully while frying
- Yeast is optional: Traditional recipes use baking powder, but I love adding a small amount of yeast, it makes the texture slightly airier without affecting flavor. If usiing yeast I recommend first blooming it in a small bowl with 2 teaspoons of warm water. If it gets foamy after about 5 minutes, the yeast is good. If it still looks cloudy, it is not good and will not help the dough rise.

Leave a Reply